Monday, June 27, 2011

Slow Living: 'Tangled' Birthday Party Crafts

Yesterday we had a mostly-handmade birthday party for my eight-year-old.

She wanted a party based on recently-released Disney film Tangled. None of the local party places have any toys and decorations for that film (one shop told me that they'd sold out of what they had because the movie is so popular; another said their ordering cycle hadn't caught up to films that recent yet). So naturally I turned to other bloggers to see what they'd done. Then I adapted some of the ideas (links are provided as we go) by turning a template for the sun design into a stencil, which I used to add metallic gold suns to recycled-polyester felt pennant flags and recycled-paper goody bags. (Naturally, this technique can be used for any design that's appropriate for stencilling.)

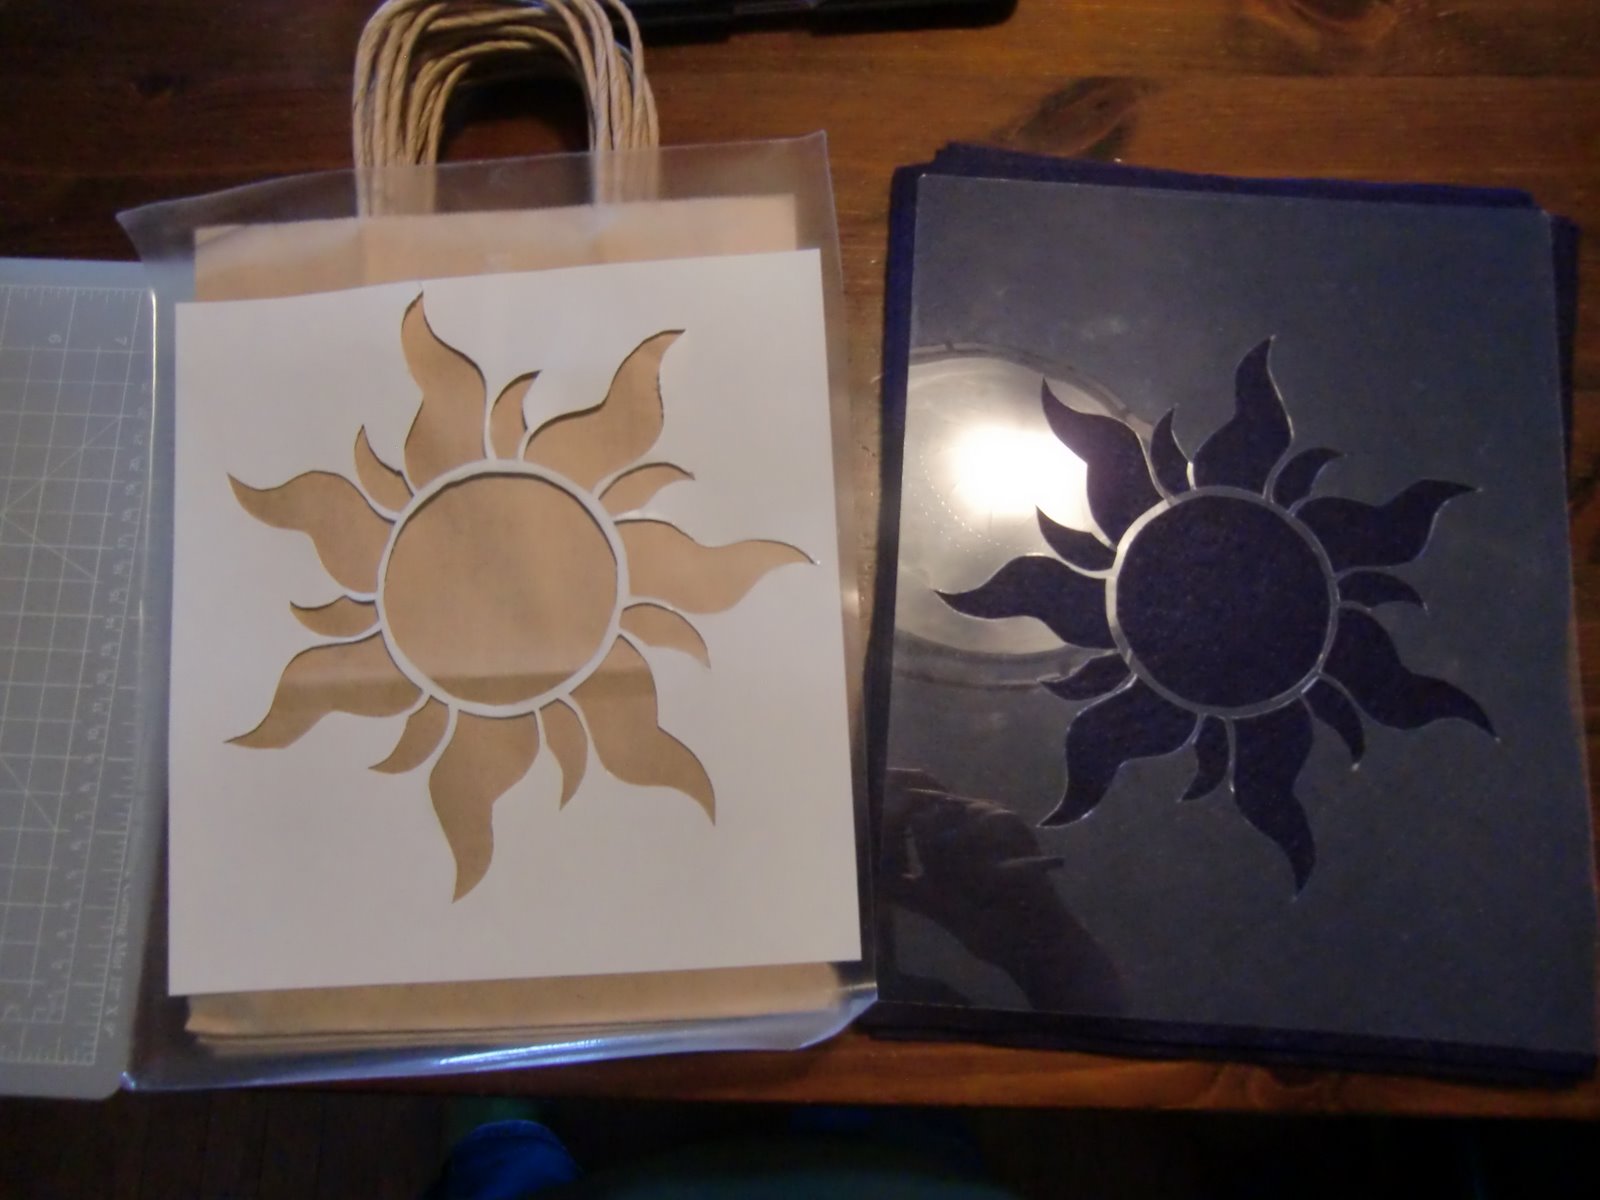
Here's how I made my stencil:
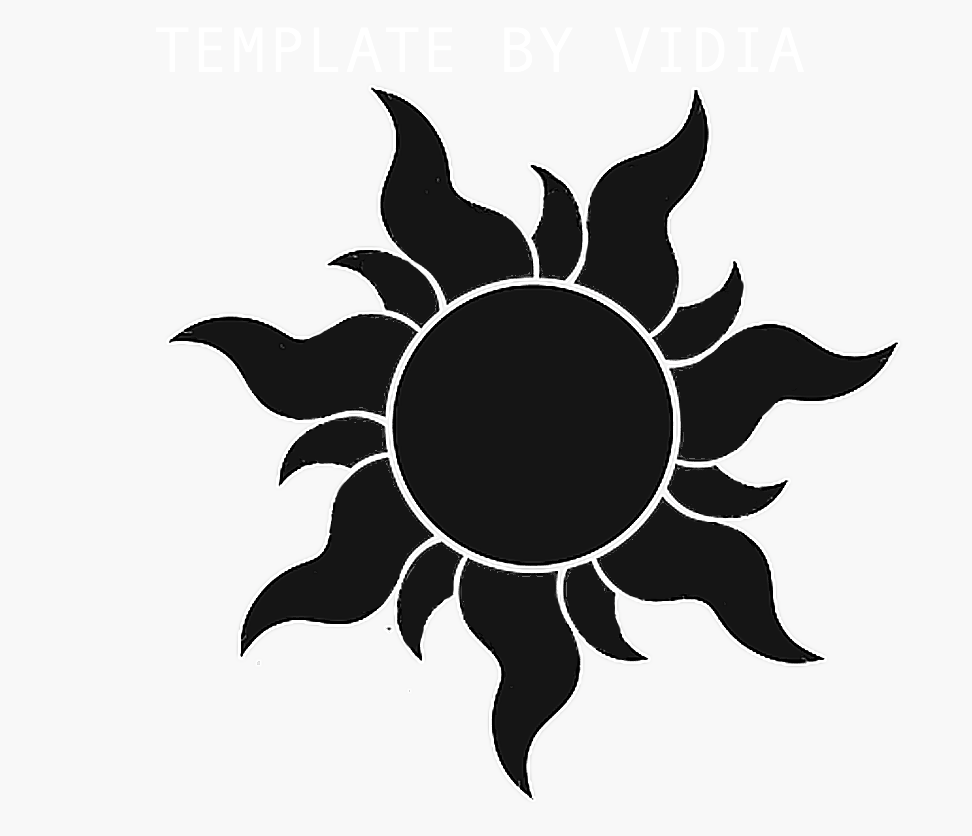
I printed the sun template (provided with this instruction video for how to make lanterns like those in the movie), and followed the instructions with this self-seal lamination kit to laminate the printout.


Then I used an exacto knife and a self-sealing cutting mat for the finicky work of cutting the design out. (I held off having my morning coffee until after I had done this, since a steady hand was required.)

Since the printout was cold-laminated, I could separate the sides when I was finished, so that I had two stencils. The stiff plastic side was best for my purposes, but depending on your design you might be able to use the thinner, more flexible side as well.

For stenciling on felt, I found that the felt was so thirsty that I didn't need to adhere the stencil to the surface (for instance, when you stencil a wall, repositionable spray glue is usually used); I could just lay the stencil on top of the felt and use a pouncing motion with a foam brush. (Don't forget to put something under your felt to protect your tabletop, since it's porous enough that paint will go right through it in places.)

As you can see, the acrylic paint I was using bled under the edges of the stencil a little, but not much. The results look pretty old-world.

Because I was running out of time, I added some tiny slits to the top edge of each sheet of felt and threaded a ribbon through the slits to hang the pennants for the party - but I will be hand-sewing them in place for a prettier, more durable finish before we hang them in their permanent home above the childrens' garden.

I also stenciled the goody bags, which used less paint and more of a brush-stroke application. The edge-bleeding on a paper surface was much worse than on the felt...

...so with my daughter's help, I outlined the edges with purple acrylic paint.

The finished goody bags. Our young party-goers each got a movie tie-in sticker storybook and stickers, a 'dreams' journal, a tree frog toy (shh, it looks like a chameleon), a skipping rope (because we played a 'Rapunzel's Hair Jump' skipping game) or a pirate sword (that looks like it might be Flynn's), and an apple from Maximus the horse, along with some little candies. If it had been less windy at the picnic, we also would have sent everyone home with a Pascal blow-out that they'd made.

We had a heart-shaped cake decorated with a small toy Rapunzel and Flynn in a gondola,

home-made cupcakes decorated to look like Pascal the Chameleon (or in the case of the blue ones with white gumdrop eyes, Cookie Monster),

sun-shaped home-baked bread served in a cast iron pan (thanks to my lovely friend Angel, who also made little paper-bag lanterns with LED candles inside), a plate of sliced cheese, trays of fresh fruit and vegetables, a bowl of apples,


and orange boats with felt sails floating on blue gelatin. Each hull in this case is half a mandarin orange.


We also played pin-the-pan-on-Flynn (using double-stick tape on the back of pan printouts cut out by the kids). In retrospect we should have made a bigger Wanted poster for that game!

We had our party at a local park with a huge playground and spray park, so there was lots for the kids to do in addition to the games and colouring we had planned - which is just as well since it was too windy and overcast for several of our ideas. 

Afterward my daughter announced it was the "best party EVER!", so... mission accomplished!

Lesson: if you're planning a themed party, do a search to see what other people have done before you run out and buy your supplies. Making something amazing for the party took me much less time than I spent hunting in vain through the party supply stores, and the results were much more special and meaningful, not to mention cost-effective!

Wednesday, June 15, 2011

On the Slow Home movement

I've written before about the principles of slow design, and my thoughts on the slow movement and the trend-driven worlds of decor and fashion. However, I haven't really talked about how the slow design principles are being expressed in the the realms of residential architecture, interior design, and decor through the Slow Home movement. Yvonne Blacker did a great summary post about six months ago on Alluminaire, and Slow Home has been a recurring source of inspiration at the brilliant, sumptuous decor blogs of A.B.C. Dragoo, Irene Turner, and Gloria Battista-Collins. I highly recommend that you spend awhile browsing through all three, as each of them have an incredible eye, and their takes on Slow Home style are very different.

So what does Slow Home mean to me?

It means that our dwellings and furniture should be carefully considered, because they have an enormous impact on our personal health and the health of the planet. Our homes should be grounded in the place where we live, using local materials and vernacular design, instead of interchangeable drywall boxes that could be in any city in the world. Our homes and furnishings should give us a feeling of coziness, timelessness, solidity, and permanence, instead of being disposable and trend-driven. Our decor should reflect our personalities and our family histories, and support our desire to live mindfully and creatively.

My Slow Home. July 2007.
My own home is in a walkable, bikeable suburb with a big back garden full of peonies and irises, a clothesline on the back deck, and wicker chairs on the front porch. We built it a little more than a decade ago now (affordability chose the location for us), insisting on extras like flat ceilings and  hardwood floors that improved on the small multilevel split's good bones and abundance of natural light. Over the subsequent years we've upgraded tile floors to ceramic, added a backsplash and moldings and beadboard and a french door, and built floor-to-ceiling bookshelves in the home office. We chose antiques and the occasional reproduction, decorated with collections and things made by hand, and grounded our love of rich colour with carefully chosen neutrals. We've ended up with a modern country look that's evocative of both a Prairie farmhouse and a Maritime saltbox... of where we are, and where we're from. All our decisions were made based on what we love, and what would make our lives more planet-friendly, not what might help the house to sell someday. Oh, and we had help from two children and two puppies in adding heaps of character (mostly in the form of toys and dings in the walls). It's cottagey, and lived-in, and since we're perpetually in the middle of decluttering or painting or picking up toys, I have very few 'finished' photos to share (I'll add taking proper photos of everything to my to-do list for this summer.).

The hand-stencilled brocade panels in the dining room were one of my first projects.
This is my daughter's third birthday, so this shot was taken about five years ago.
That's a walnut-stained farmhouse table under the cloth, and a rather bossy cherry-stained oak on the floor.
We've recently updated the room with aubergine faux-silk draperies and amethyst glass on the cabinet.
The kitchen right after the subway-tile backsplash was installed,
with part of my milk glass collection on the 'plant shelf' above.
The cabinets are the cherry-stained oak that was in vogue at the time we built.
These floor-to-ceiling shelves are in an open home-office space that overlooks the kitchen,
and are visible from the front entry of the house. My husband did an amazing job building them.
They're full of my reference books and shelter magazines, and my collections of Poole and McCoy pottery.
This might not be your version of a Slow Home; maybe for you, minimalist simplicity is the paramount expression of the slow life. Maybe fearlessly embracing your passion for bold pattern and colour is your path to authenticity in decorating. Maybe your Slow Home is a downtown apartment in a bustling metropolis, or a beachside surf shack, or a fifty-acre farm. Wherever you live, however you live, it is still possible to find ways to incorporate the Slow Movement into your home.

Won't you tell me what Slow Home means to you, and what makes your home slow?

16 June Edit: silly me. I forgot to mention that my inspiration in posting this yesterday was that today at 5pm EST / 3pm MST/ 2pm PST / 10pm GMT, we'll be talking about the Slow Home movement on Twitter's #DesignTV chat, hosted by A.B.C. Dragoo - who did another fantastic post on Slow Home today herself - and Jonathan Legate (whose swoonworthy tumblr is brimming with timeless design). You can join in by following the #DesignTV hashtag or using tweetchat. I'll post a link to the transcript afterward for those of you who missed it!


17 June Edit: Here's the transcript: http://www.curatede.com/Tweet/ChatTopic/DesignTV?topicid=297

Tuesday, June 14, 2011

Monthly Slow News Summary: June 2011

I've been home from my trip to Japan for a couple of weeks now, and I'm still getting over the insane jet lag and refining some blog posts from the trip. Meanwhile lots of interesting posts have emerged on aspects of the slow movement. In the interest of getting them up in a timely manner, I'll just do bullet point lists this month...


On Slow Food:


On Slow Travel:


On Slow Fashion:


On Slow Design:


On Slow Living:


On Sustainability: